We just wanted to add a bow windlass but ended up rebuilding the whole anchor box…
We currently had no bow windlass. In the Baltic Sea, you seldom anchor from the bow. Most of the times you anchor with the bow to land and an anchor in the stern. A more permanent bow anchor with a windlass was something we were missing.
It was was supposed to be an easy fix. Just adding an anchor roller on the existing bow platform and make a simple shelf in the anchor box for the windlass…
After some research, we had finally decided to use a Spade S100 anchor with 60 meters of galvanized 8mm chain as anchor rode. For windlass, we would use Lewmar’s new HX1. The anchor weight of the S100 is 20kg instead of the existing 15 kg Bruce anchor. The HX1 windlass is only 800W. But due to high working load and max pull, it will be ok. It will just take a bit longer time to raise the anchor due to lower line speed.
But once we had decided on anchor, anchor rode and windlass the challenges started.
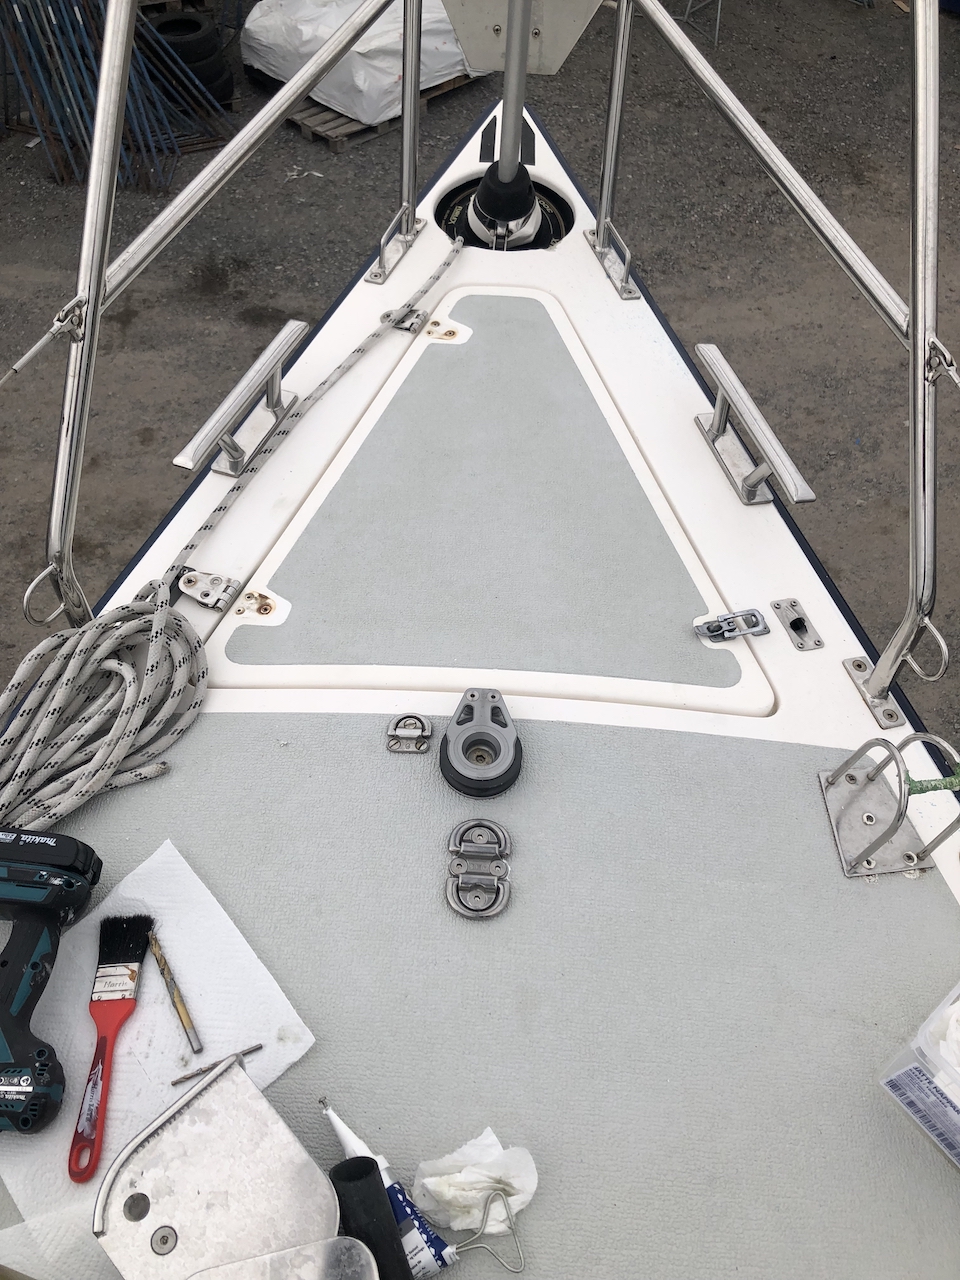
- The existing bow platform was missing an anchor roller
- Maximum weight for the anchor on the bow platform is 15 kg. The Spade S100 weighs 20 kg
- Since the drum for the Furlex is below deck, a standard bow roller would not fit or have to be removed every winter
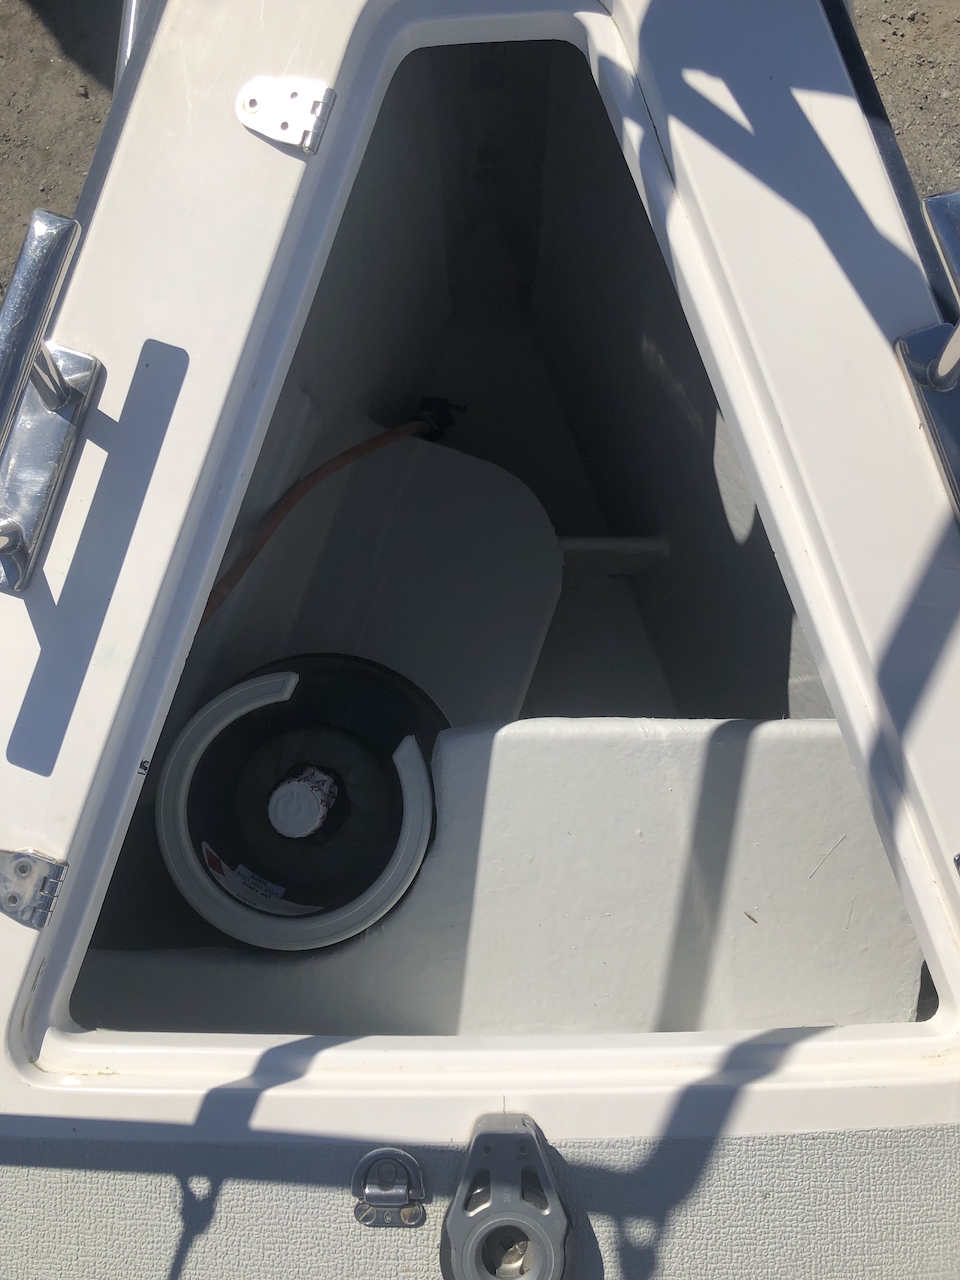
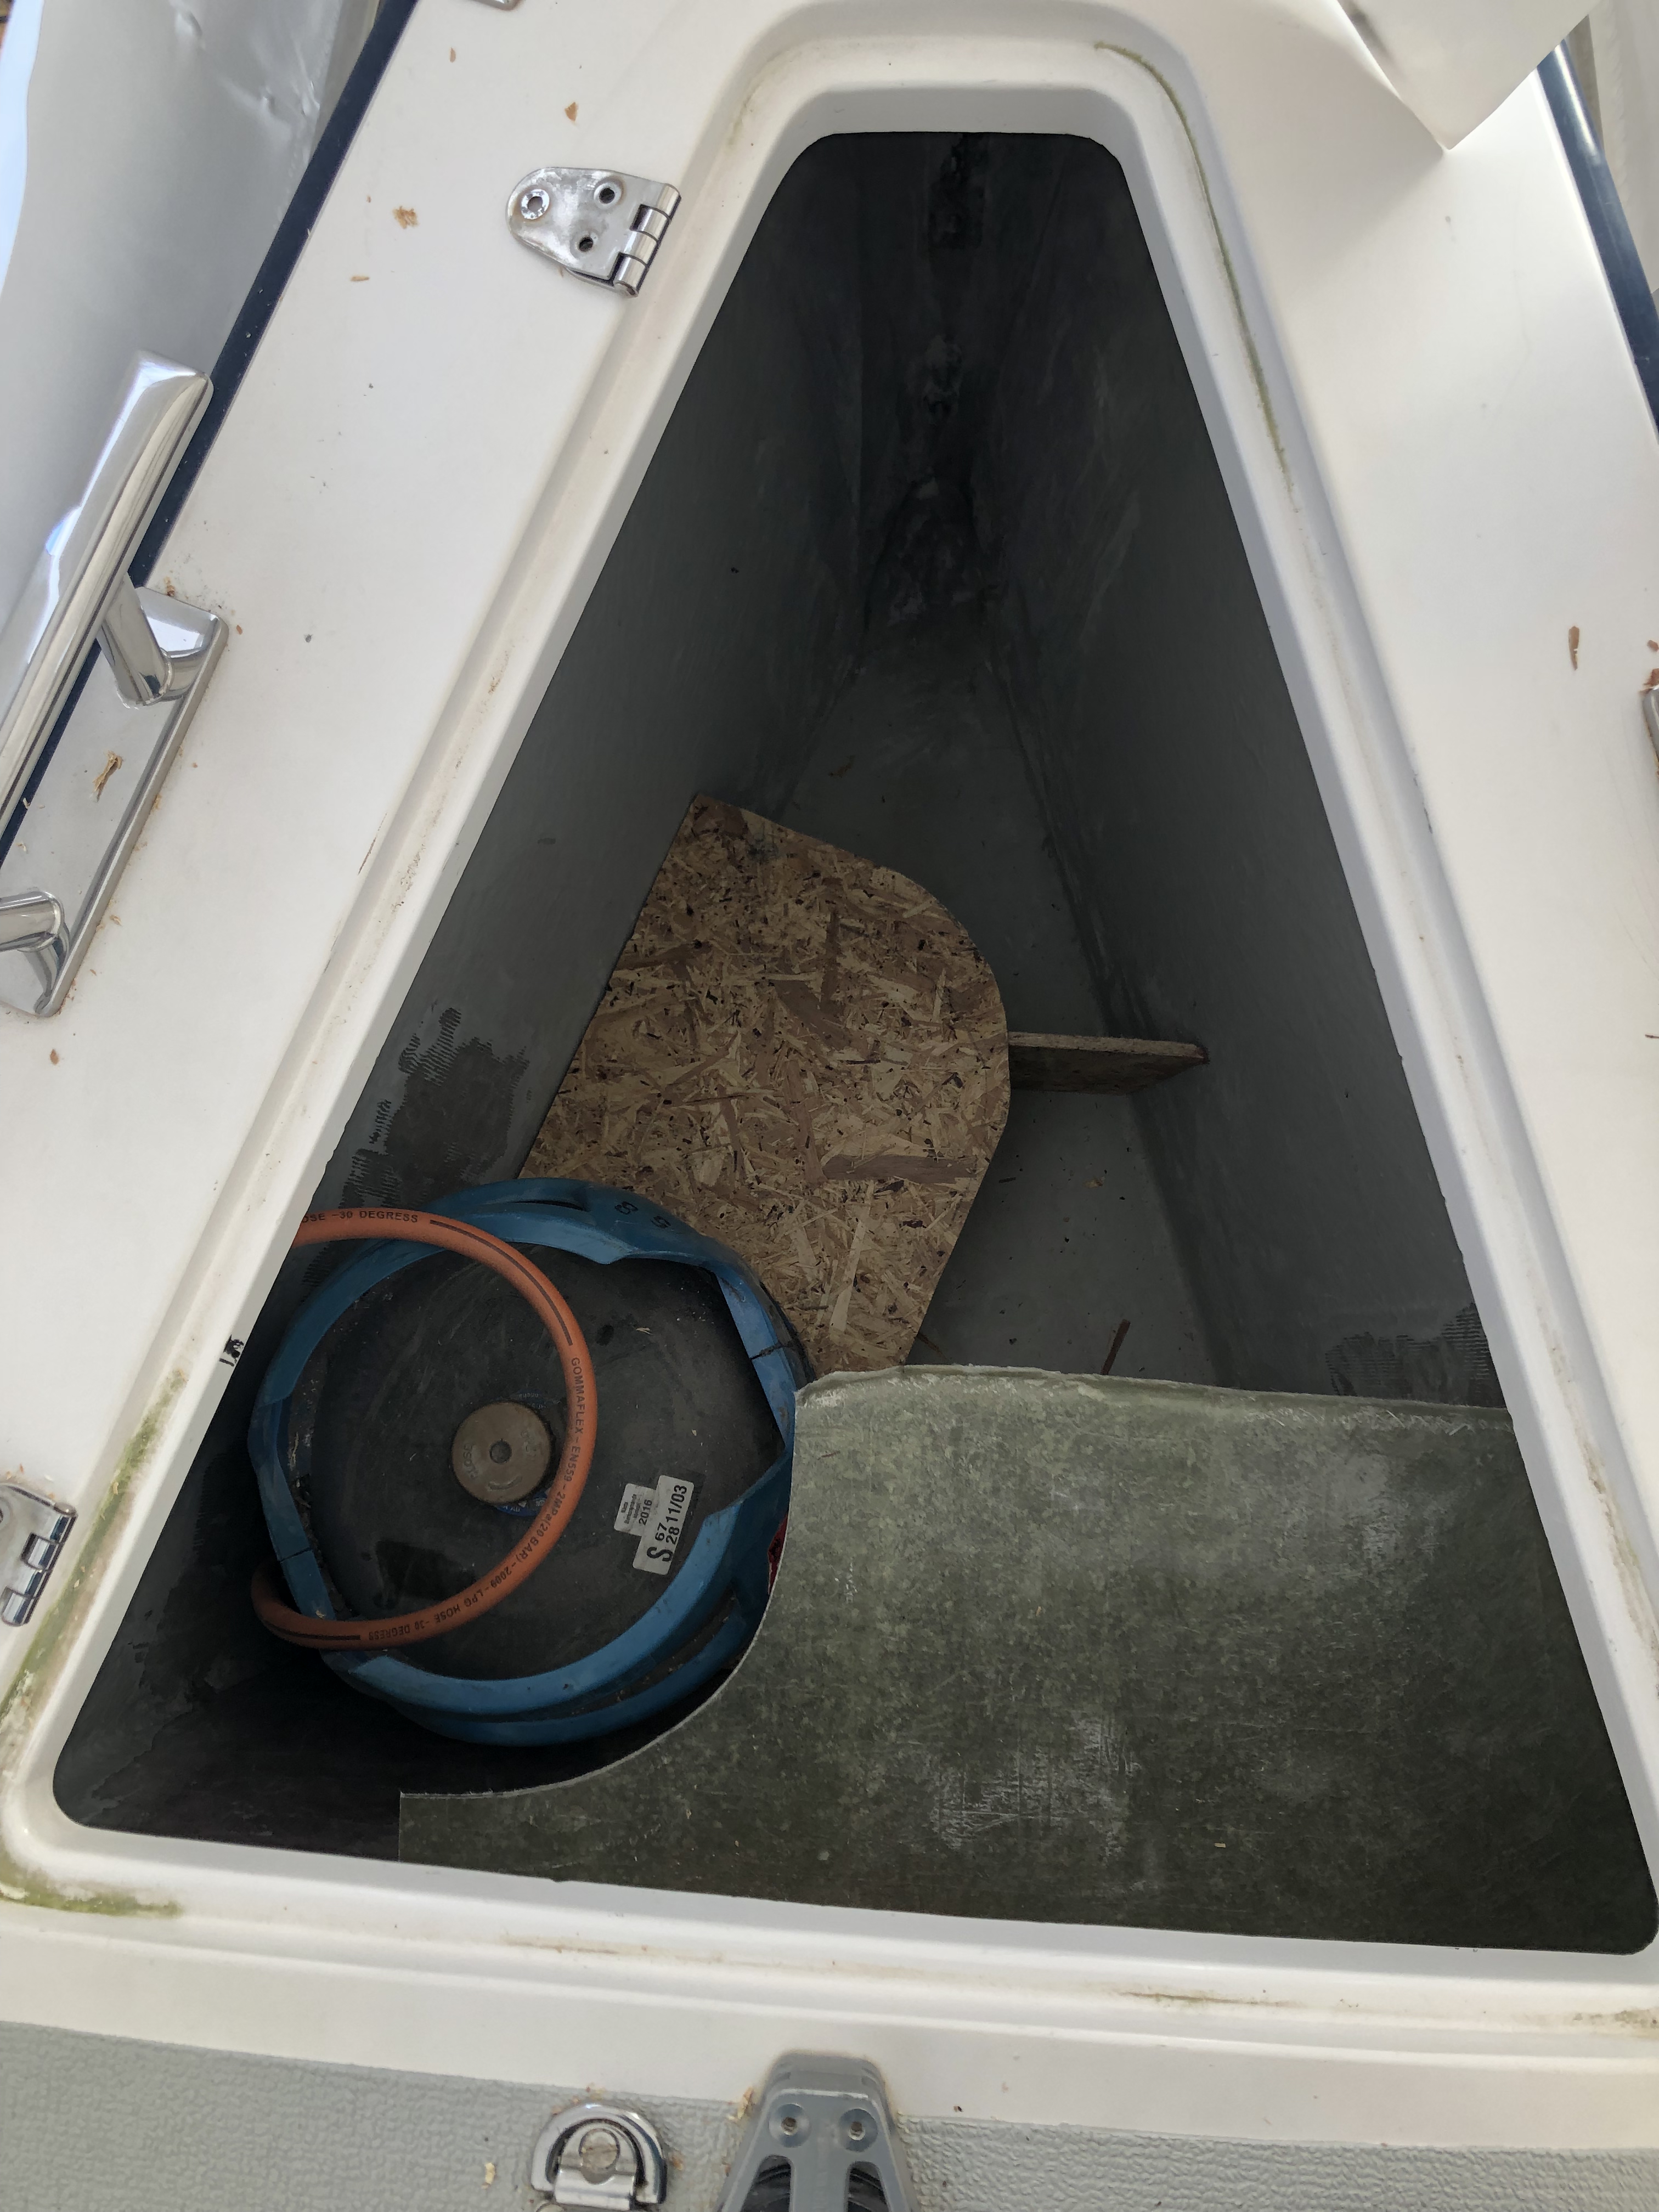
- The existing shelf for LPG bottles in the anchor box could only fit the small Swedish 2 kg camping bottles
- If the existing bow platform is removed, some other solution for boarding from the bow was needed when cruising in Sweden

What needed to be done was way more extensive than what we had hoped. Storing stuff such as fenders and lines in the anchor box was also something we could not do with a bow windlass.
- Remove the old bow platform
- Add new custom made anchor roller with chain guide that would fit a Spade S100 anchor and custom made ladder
- Make a divider in anchor box for chain
- Add a shelf for two 5 kg LPG bottles
- Add fastenings for the 5 kg LPG bottles
- Add separator between the chain and LPG bottles
- Add shelf with a support structure for windlass
- Reinforce bulkhead on the side of the anchor box
- Add support frame on the other side of bulkhead for bolts to new pad-eye for cutter stay
Adding a post-market shelf for bow windlasses on Arcona 400 is not a new thing for Gustavsbergs Marincenter. For them, this would have been a couple of days work. For me working outdoors in the cold with limited skills, it took way longer time.
Since this is an area where I have no knowledge and experience I knew that I could never do this alone. But it was also something that I felt that I had to learn as well. I am thrilled that I have one of the best friends you can ever have. Even though Martin has a lot of other stuff going on, he promised to help me.
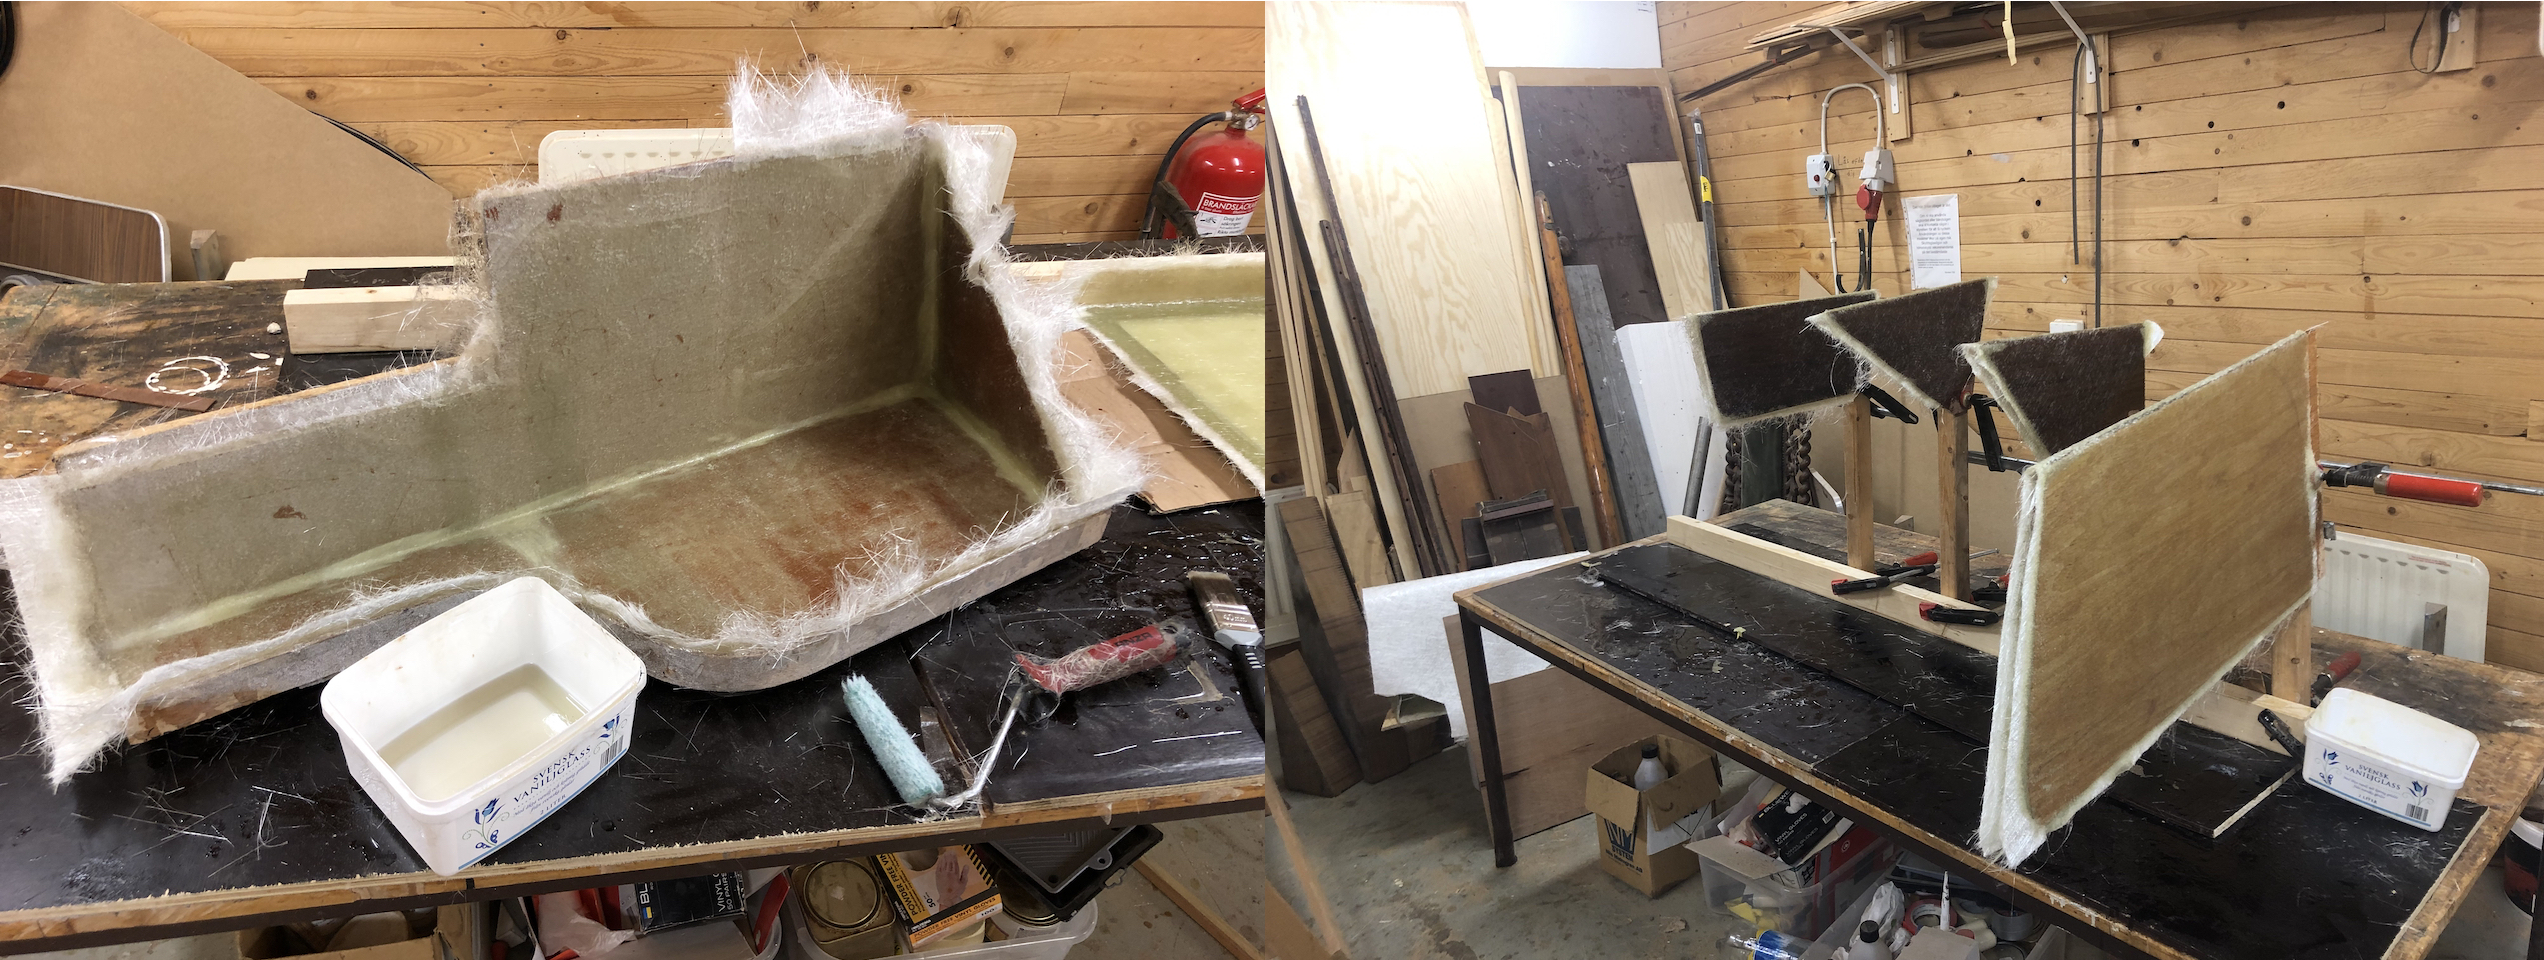
Luckily Gustavsbergs Marincenter could also lend me their mold for the windlass shelf, and I could prefabricate some of the stuff indoors at my old boat club.
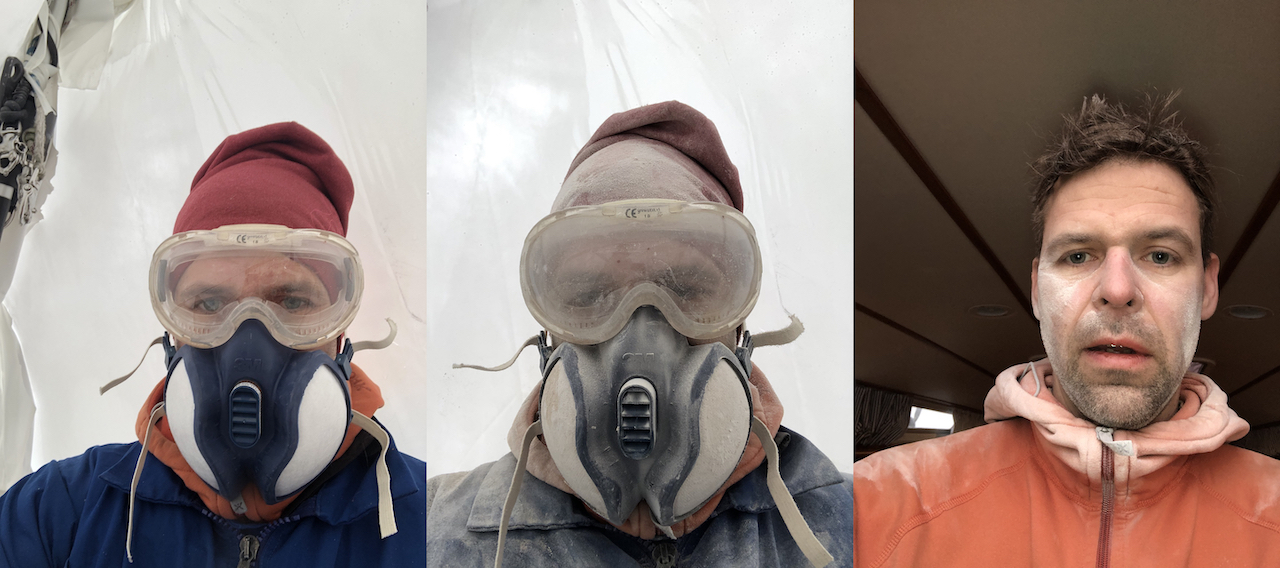
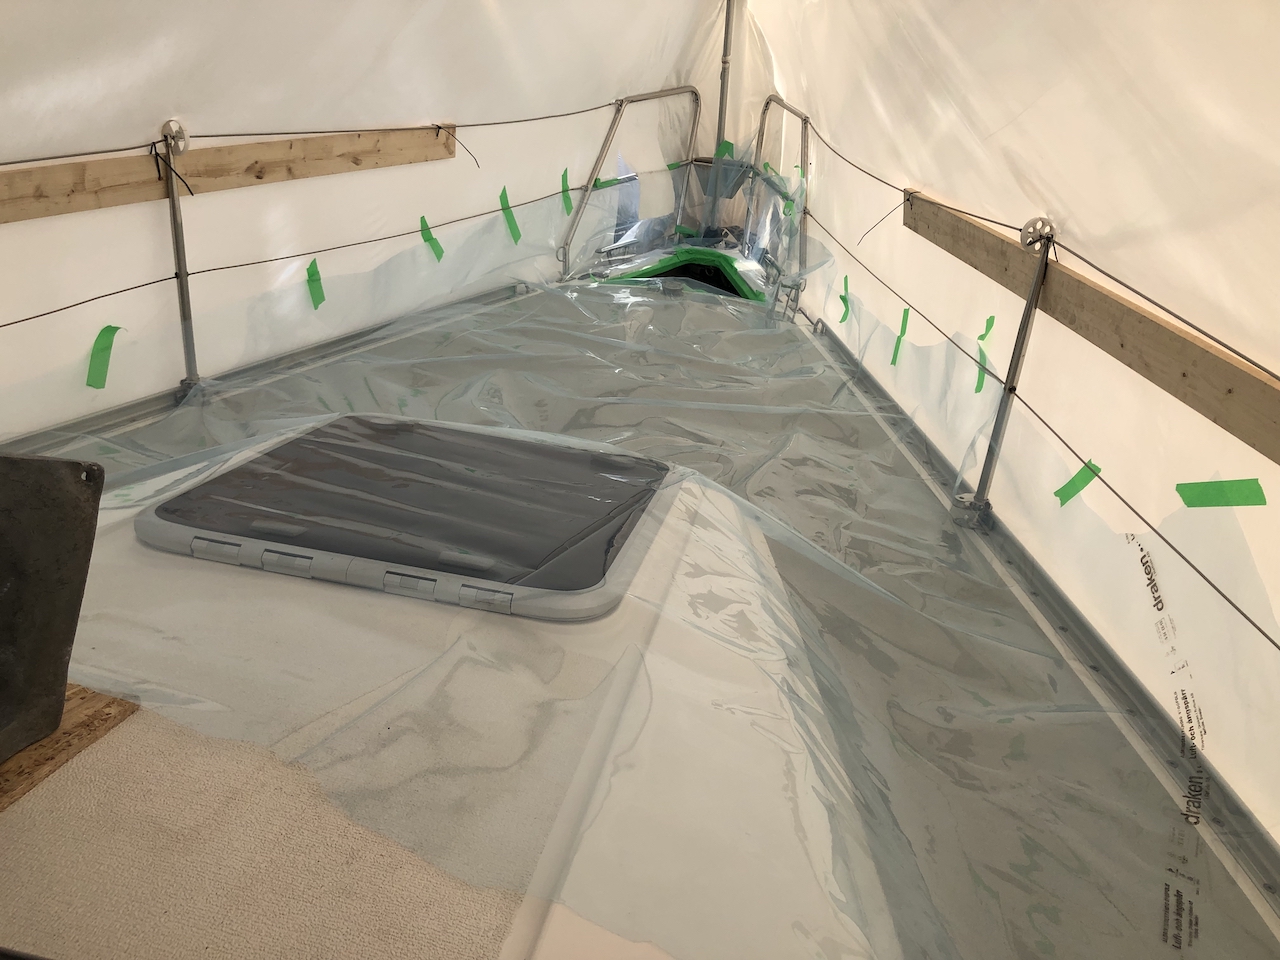
But before we could fit anything in the anchor box all the gel-coat where we needed to fit stuff required to be removed. And this is one of the worst staff that you can do, sanding gel coat in a small confined area where you can not fit any vents is not a lot of fun.
For me, all the fitting, making templates, adjusting templates, fitting again, adjusting templates again, etc. took quite a bit of time. But in the end, I ended up with functional pieces of marine grade plywood that we could start laying glass fabric on.
The divider for the anchor chain, the shelf for the LPG bottles and the support for the windlass shelf is based on marine grade plywood coated each side with four layers of 300 g/m² chopped glass fabric mat. The actual shelf is a mix of 300 g/m² chopped and 750 g/m² multiaxial woven glass fabric mat.
To not mess up the deck everything had to be protected as well. Not fun if we spill polyester on the deck.
Before we could fit anything in the anchor box, we had to reinforce the bulkhead which is needed when adding a cutter stay. The reinforcement was a total of four layers of 750 g/m² multiaxial woven mat, covering the whole bulkhead and stretching out on the inside of the hull and underneath the deck.
The divider for the chain, the shelf for LPG and reinforcements for LPG holder where all fitted directly using glass fabric mat. The actual shelf for the windlass was first glued with putty before fitted with glass fabric mat.
Once all the shelves were mounted in the anchor box, I could start working on the reinforcements for the cutter stay pad-eye. The bulkhead is now significantly reinforced. But deck needed reinforcements and the pad-eye required to be anchored to the bulkhead.
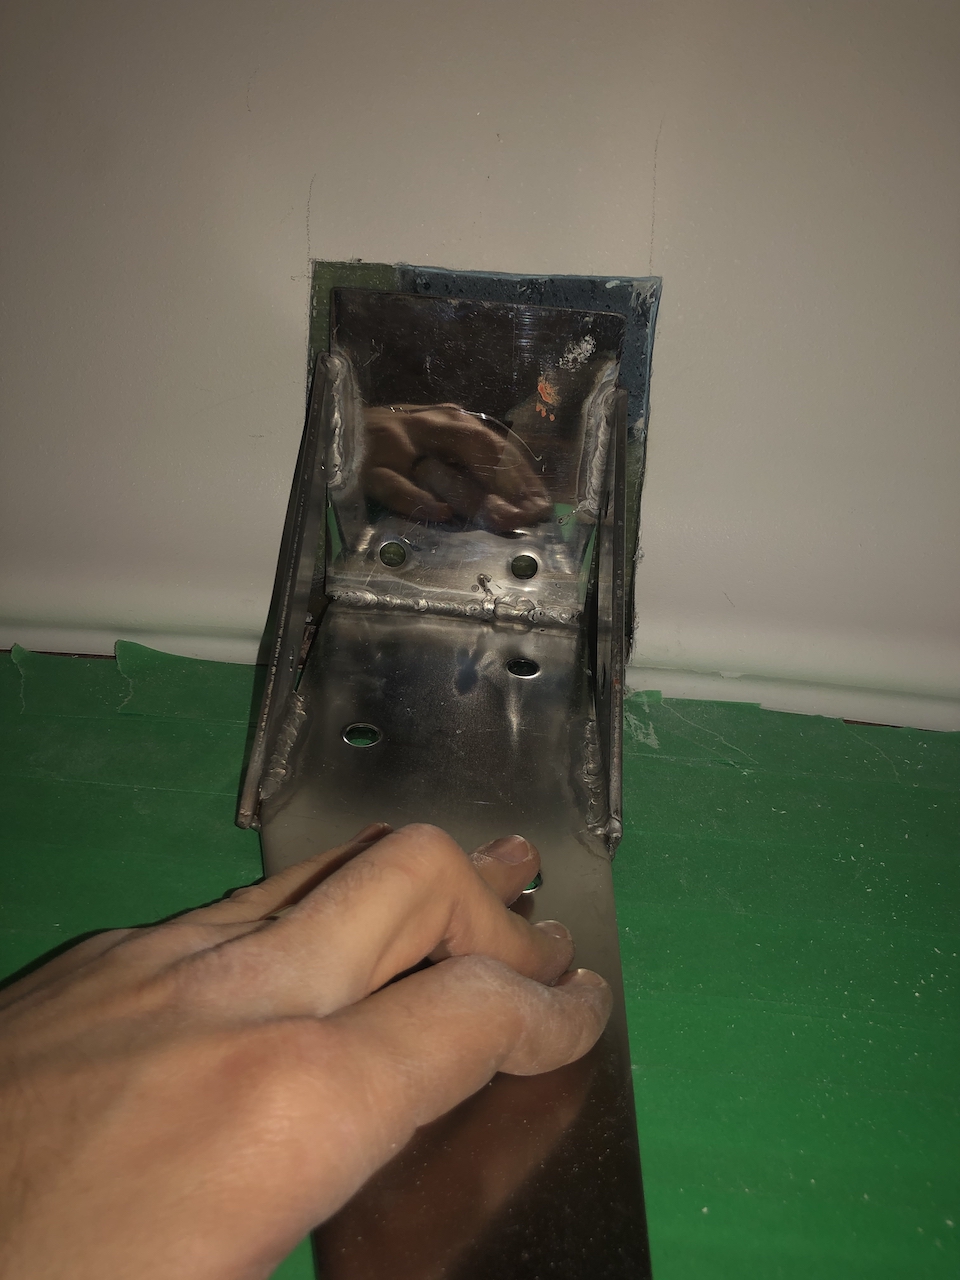
By first cutting a hole in the inner module and then pre-drilling the holes for the pad-eye from the top, I could drill 30 mm holes in the sandwich from the inside and remove the divinycell and inner fiberglass of the sandwich where all the bolts will go.
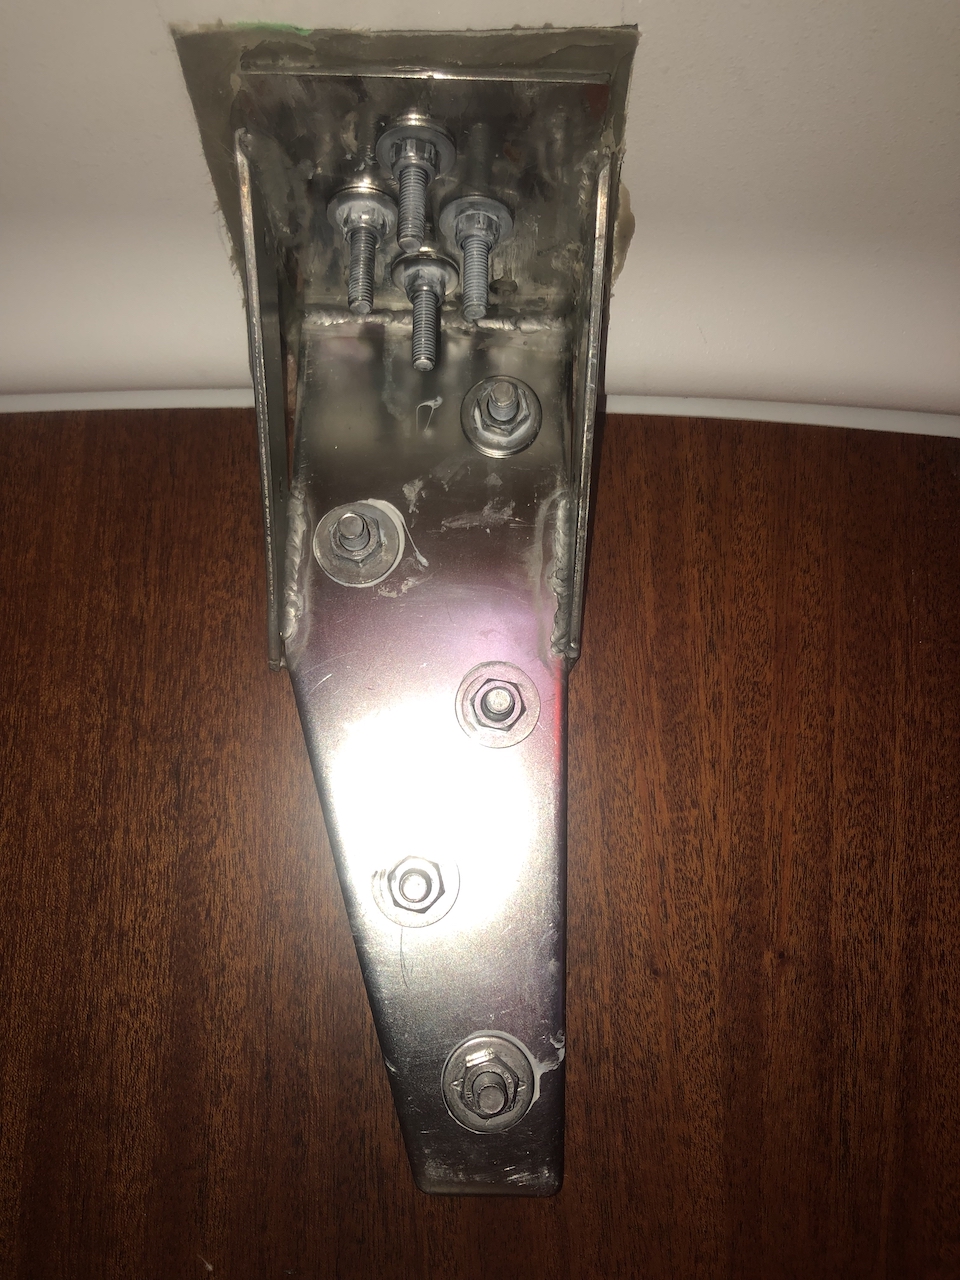
The stainless steel fitting is first glued to the deck using fiberglass putty, with the putty reaching up to the top layer of fiberglass of the deck at the bolts. I then bolted the fitting to the bulkhead and drilled new holes from the top through the fiberglass putty and the stainless steel fitting.
Once I had the stainless steel fitting I could also add a couple of layers of fiberglass over the bolts in the anchor box to make them completely watertight.
After all the fiberglass was completed, I added two layers of topcoat in the anchor box to make it nice and tidy.
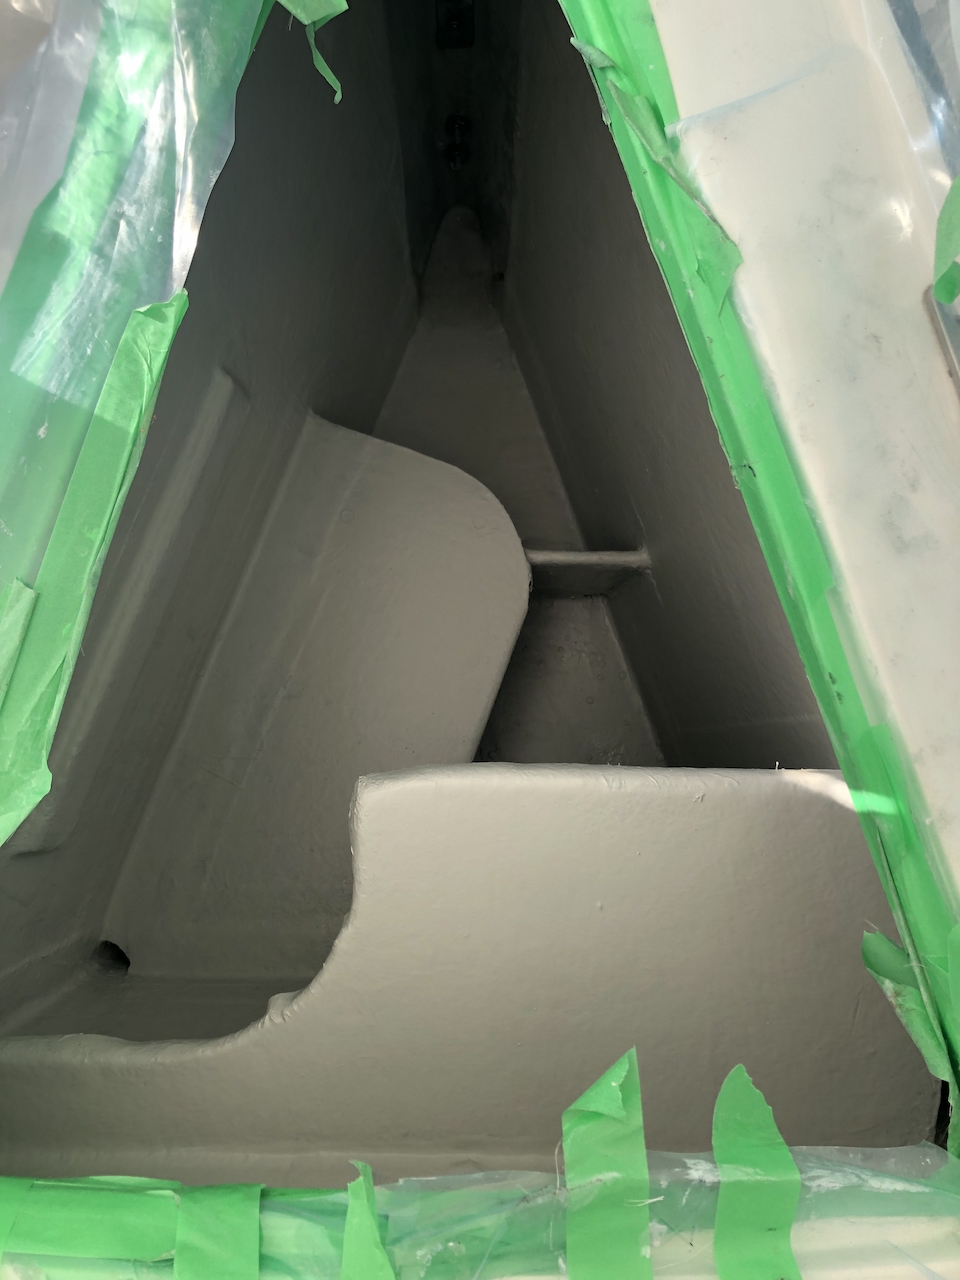
There is still some work to do. I need to add holders for the LPG bottles, saw holes and fit the anchor roller, mount and connect the windlass. But I am slowly getting things done.


One thought on “Plastic Fantastic – New anchor box”